Overview #
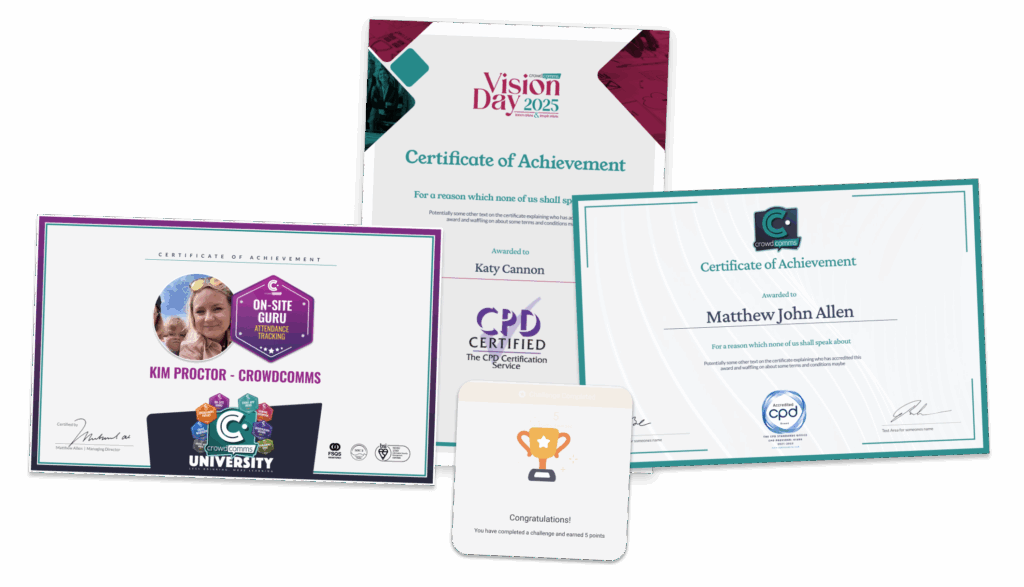
Introducing our Certificate Generator, designed to streamline the creation and management of CPD certificates.
This feature includes a custom certificate builder with live previews, flexible sending conditions based on existing triggers, and an email builder that allows you to tailor each message when issuing certificates.
With full control over layout and branding, including background images, logos, merge fields, candidate details, and font styling; the builder makes it easy to create professional, personalised certificates.
Admins can also track issued certificates, view their status, resend or manually send them, and manage recipients with ease.
Designing your Certificate #
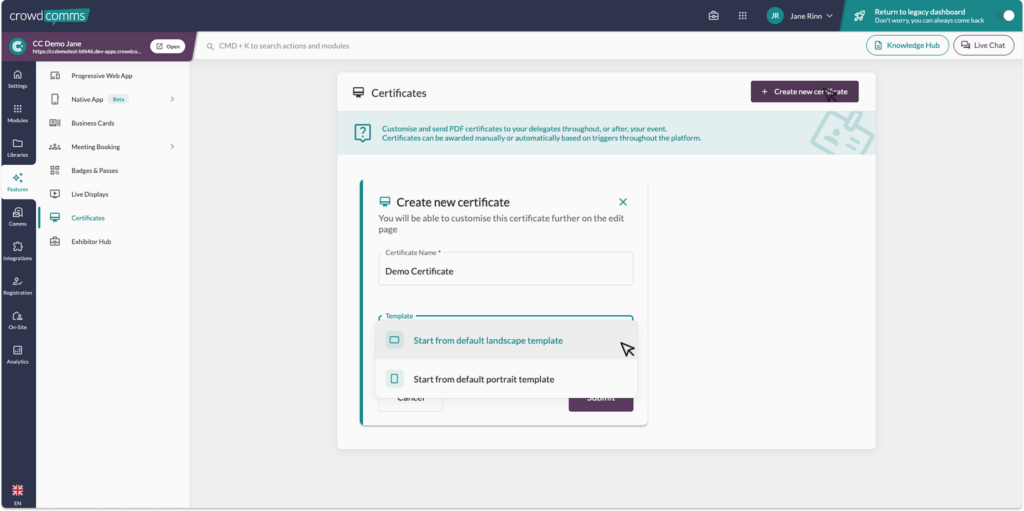
- Log into the CMS, and navigate to your event app. Within the event app, navigate to the Features tab, and select Certificates from the secondary menu.
- In the new window, select the Create new certificate button on the top right. In the pop up modal, set your name for the certificate, and choose either a landscape or portrait orientation, then hit submit.
3. You will then be redirected into the settings section for this certificate. On the details tab you can:
- Change the certificate name
- Assign multiple triggers
- Open the certificate builder to design your certificate
- Assign the certificate to only be issued to a predefined group who meet the trigger criteria
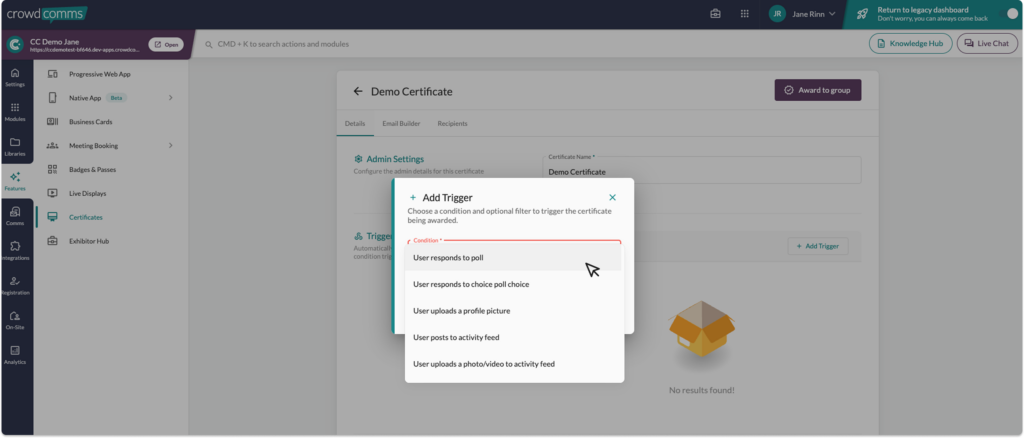
4. Trigger Conditions let you automatically award a certificate when specific criteria are met. To set one up, go to the Trigger Conditions section on the details page and click +Add Trigger. Select a trigger from the pop-up modal; some triggers offer an optional filter to narrow the criteria to specific polls or surveys. Once you’re done, click Submit. Use the pencil icon to edit a trigger or the minus icon to remove it.
5. To design your certificate, navigate to the design section at the bottom of this page, and select Launch editor.
6. The editor will open, providing you with a preview of your certificate as you build it. In the top right of the preview panel, you can toggle between the page view and CSS controls to add custom CSS if needed. At the bottom of the panel, you’ll find the Add Dynamic Content button — learn more about Dynamic Content here.
7. To begin editing your certificate, navigate to the left side of the screen. Here you can see your certificate is prebuilt for you, you can fully customise these sections and add to them if you need. The certificate is broken down into different sections, you can
- Change the font by choosing from our google font drop down menu.
- Select the orientation, though we recommend doing this on the details page instead of in the builder to make use of the pre-built template.
- Upload a background image or set a background colour.
- Adjust the padding and align content.
- Upload a logo and adjust the spacing.

8. If you need an additional section, scroll to the bottom of the control panel on the left, and select the +Add new section button. Section Types:
- Single Column Section: A section with a single column for text content or image content.
- Two Column Section: A section with two columns for text, rich text or image content.
- Three Column Section: A section with three columns for text, rich text or image content.
9. Choose the section that best fits your design needs, choose a label for the section, and click submit.
10. You can duplicate, hide, edit, or delete sections by clicking the ellipses and selecting an option from the dropdown menu.

11. Once you’re happy with your design, don’t forget to save the changes in the bottom right of the screen.
Certificate Email Builder #
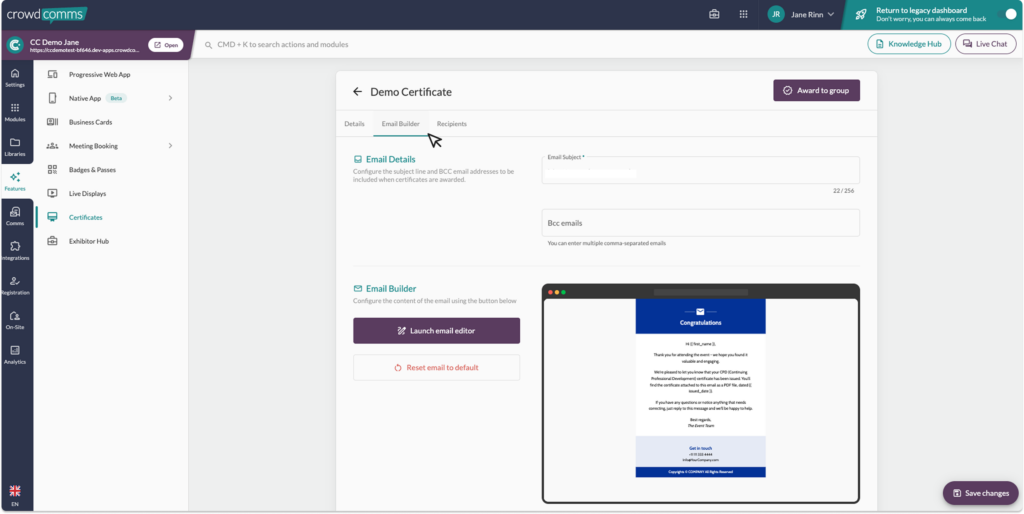
- Now that you’ve finished designing your certificate and have saved the changes, navigate to the email builder tab as shown above.
- This section allows you to customise the automated email that will be issued with each certificate.
- In the Email Details section, you can set the subject line and add Bcc emails, using commas to separate multiple addresses.
- To edit the content of the email, select the launch editor button. To learn more about our email builder please see here.

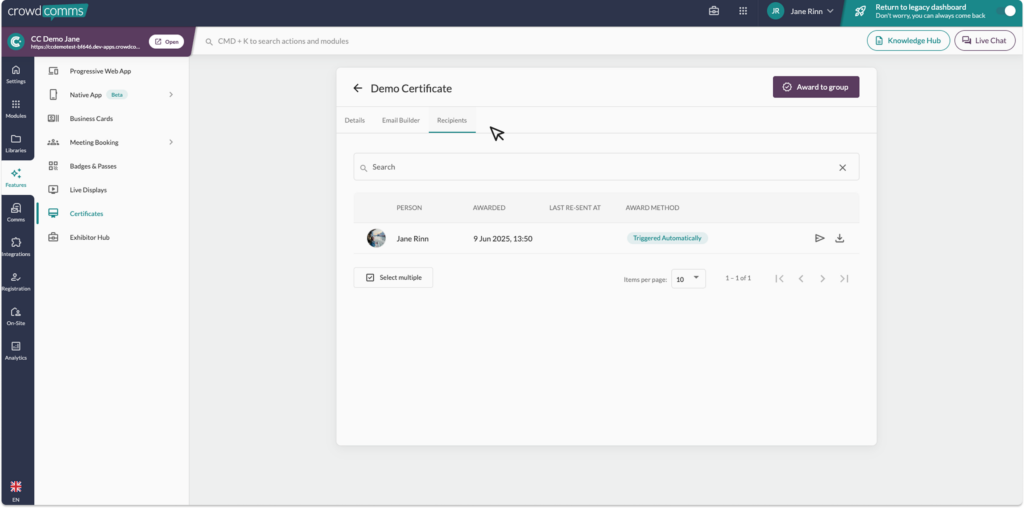
Certificate Recipients #
- To keep track of who has been issued a certificate, navigate to the Recipients tab. Here you will find a table of attendees/delegates who have received a certificate. You can see the time and date it was awarded, the last time it was resent (if any) and the award method.
- To reissue the certificate – click the paper plane icon, or download a copy of the certificate using the download icon.