Eventboost is an all-in-one event management software and online registration platform which is now able to be integrated with the CrowdComms platform.
In order to complete the integration there first must be an event created by Eventboost which will have a unique Client ID and Secret. Only Eventboost are capable of generating this information so usually it should only ever be Eventboost that will complete the integration with CrowdComms software. However on the occasions when someone other than Eventboost are generating a integration the user will need to contact Eventboost/CrowdComms client to retrieve the Client ID and Secret before attempting integration.
The user will also need to be able to login the Eventboost site as a registered user/On a 30 day free trial to retrieve the additional required data.
Eventboost Integration
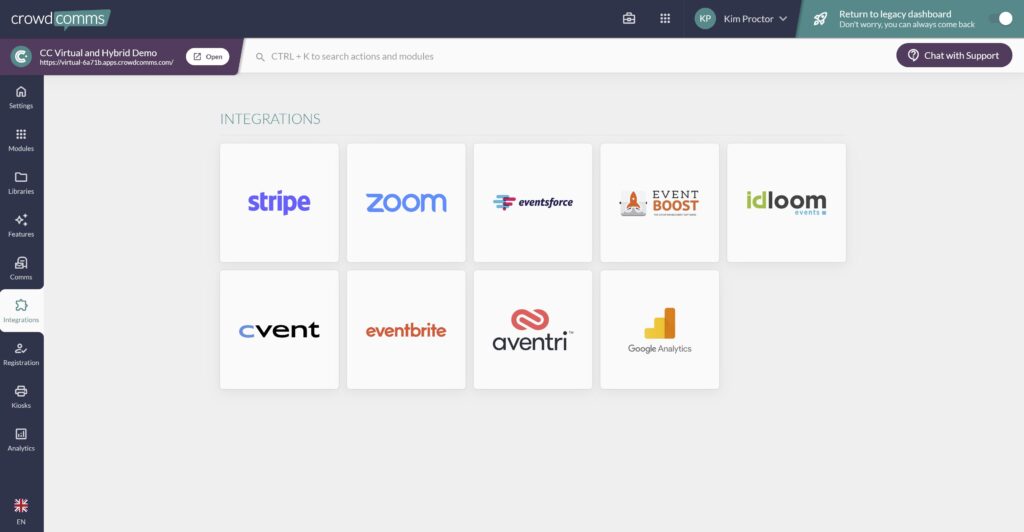
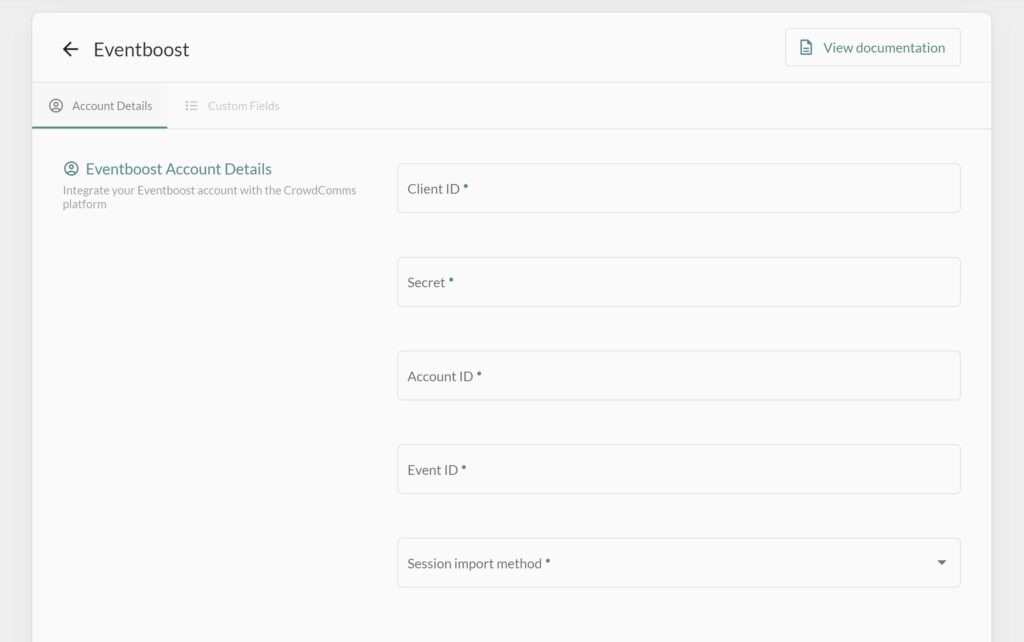
2/ On the Eventboost site click on “New Event” to create a an event button or the “My Events” to display existing events the user has already created.
3/ Select the “Event Schedule” and select a date for the event from the calendar
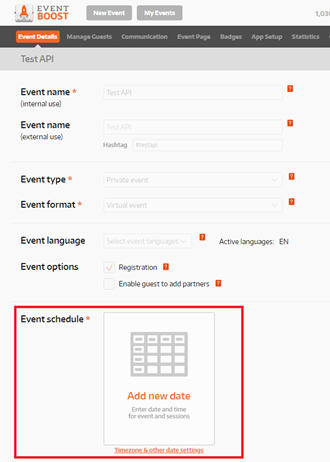
4/ Change “Event Type” to “Public event”
5/ Change “Event Format” to “Virtual event”
6/ Click “Yes” button on warning modal
7/ Change “Event Language” to the appropriate language
8/ Untick “Event options” for “Registration” unless you wish the users to complete a registration process on Eventboost and carry that data over within the integration of the user profiles.
9/ On the created event, update with a “start time”, “end time”, and “description”.

10/ Click on the “Save” button.
11/ Click “ok” on the warning modal.
12/ Click on the “gear” button next to the session
13/ Select the “no” node and “ok” button.
14/ Click on the “Save” button.
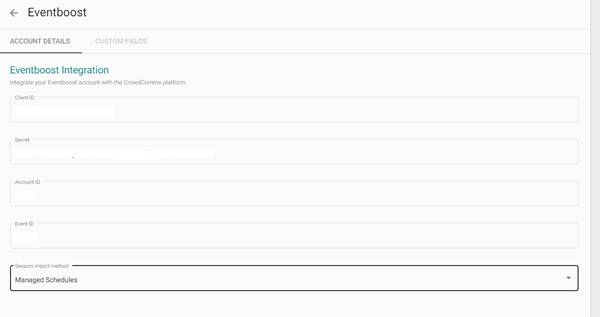
15/ In CMS using the Eventboost details for the “Secret” and “Client ID” update the corresponding Eventboost integration fields
16/ Using the “Event ID” from the event made on the Eventboost website, update the “Event ID” field in CMS
17/ Update the “Session import method” to “Managed schedules” and click on the “save” button
Eventboost Custom Fields
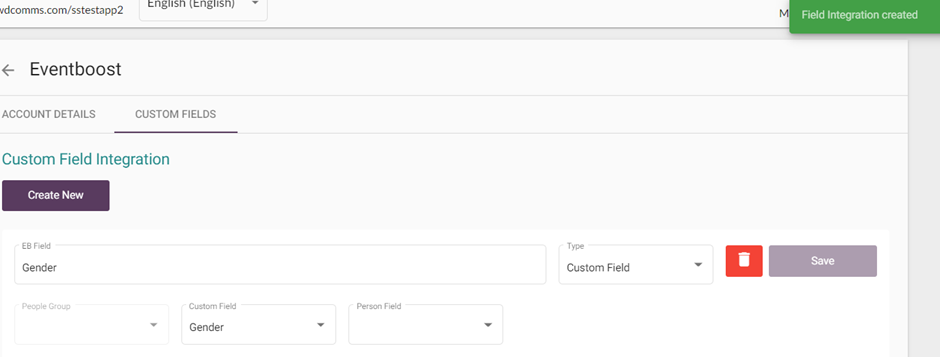
You can also map additional delegate’s profile information from Eventboost using the Custom fields Tab.
1/ Click on “Custom Fields” tab

2/ Click on “Create New” button
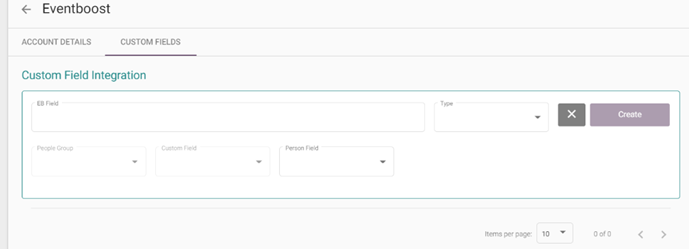
3/ Input a reference into the “EB Field”
4/ From the “type” select “Custom Field”
5/ From the “Customer field” drop down select a custom field that exists within CMS for the app
6/ Click on the “Save” button
