Overview #
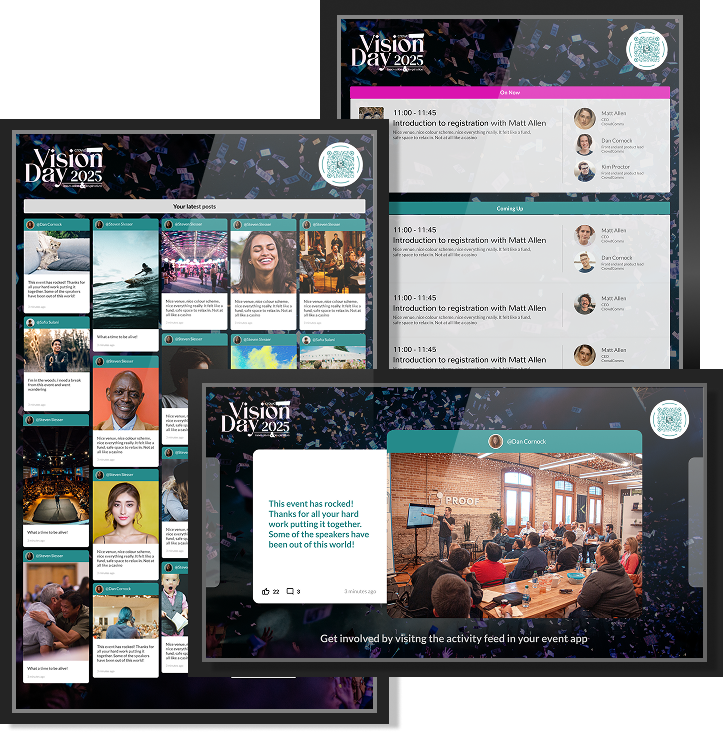
The display screen feature provides a visually engaging way to present key content to a live audience. It includes dedicated screens for the Activity Feed, Agenda, Gaming, and Sponsors, each screen designed to deliver clear, accessible information in a visually enjoyable way that is fully customisable.
A newly built Surveys section allows real-time interaction, with results displayed dynamically using formats like word clouds and bar charts. Custom branding options and colour themes offer flexibility in how content is presented, making the display screens a powerful tool for live engagement and audience communication.
Configuration of Live Displays #
As mentioned you can use live displays for the following features
In order to use these features in a Live Display, they must first be configured and then linked to the live displays. For more information about configuring these, click the links provided above.
Creating a Display #
Once your feature is configured, you are now ready to create your live display for your event!
- Log in to the CMS and navigate to your event app. Within the app, go to the features tab in the menu, and select Live Displays.
- In the Live Display page, click the Create New button on the top right corner. This will open a form where you can enter the display name and select the checkbox to enable visibility.
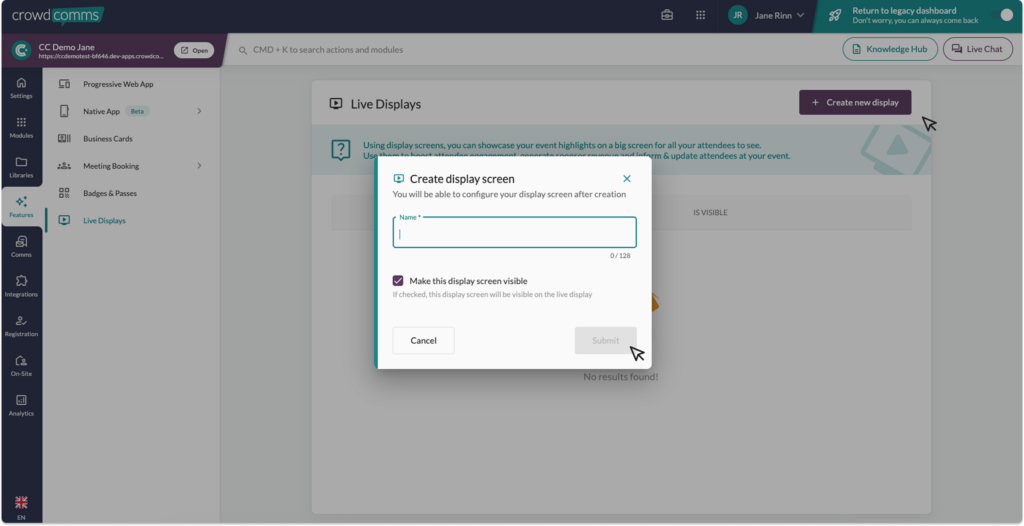
3. Once you’re happy with the name, and have selected the checkbox, click Submit. You will then be redirected into the newly created display settings.
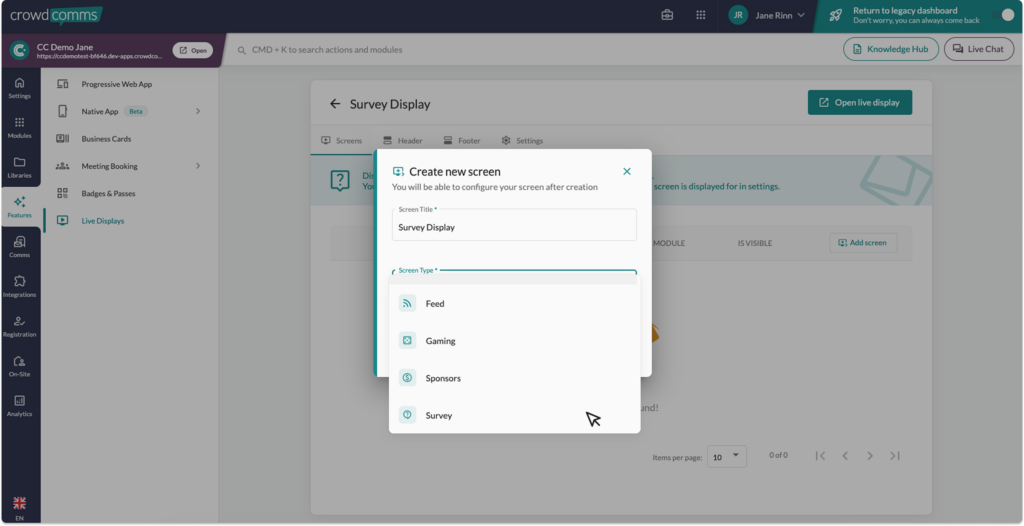
4. Select Add screen – you will be give a form where you can add a title for the screen and choose the screen type.
5. Screen types:
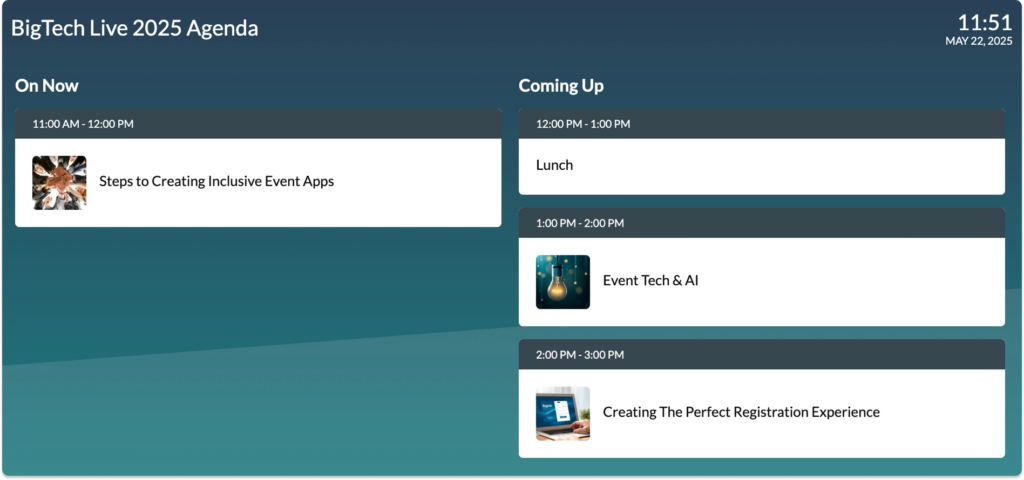
- Agenda: Displays the Agenda Module with the options to customise the screen title, layout, add images, and set branding colours.
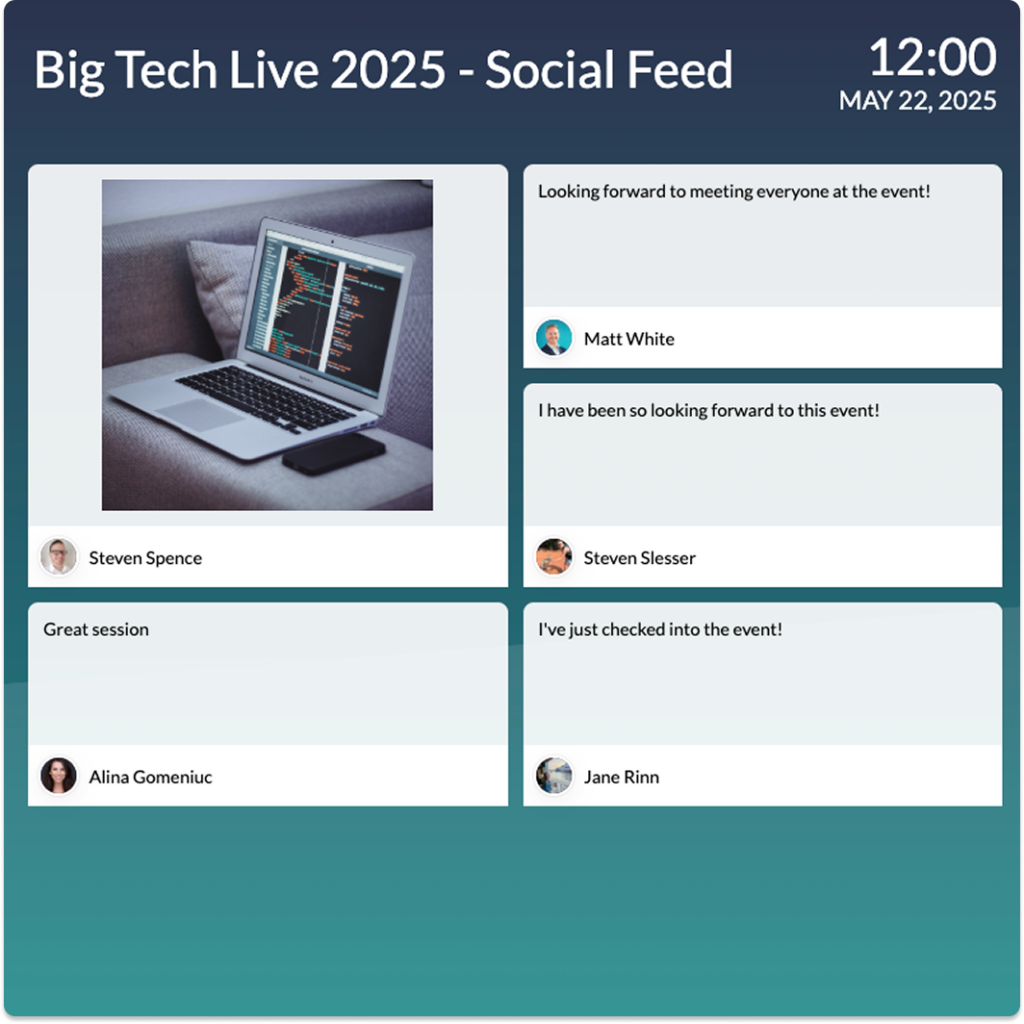
- Feed: Displays the Activity Feed with options to set the screen title and customise the layout.
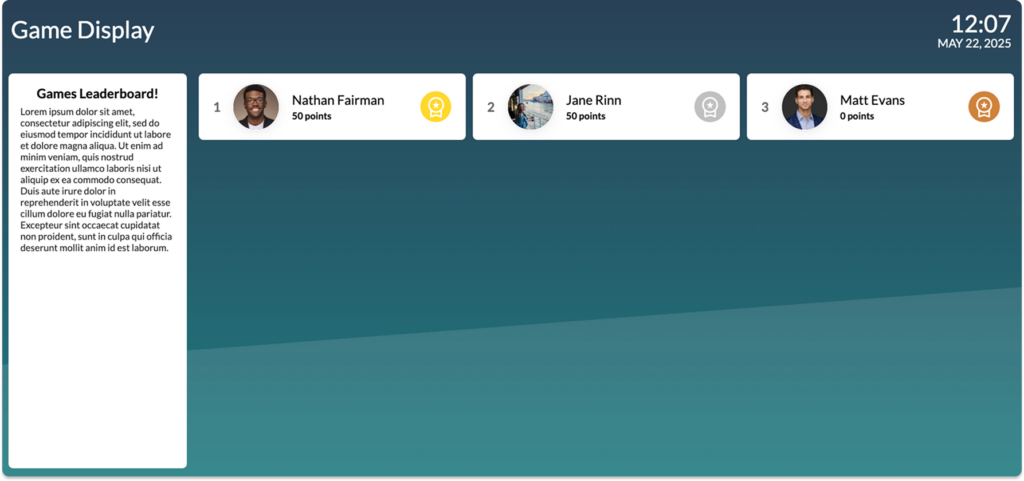
- Gaming: Displays the Games Leaderboard, you can add a screen title, an info panel and set branding colours.
- Sponsors: Create or link to an existing sponsor, and display sponsors with an image and a clickable link to the company URL.
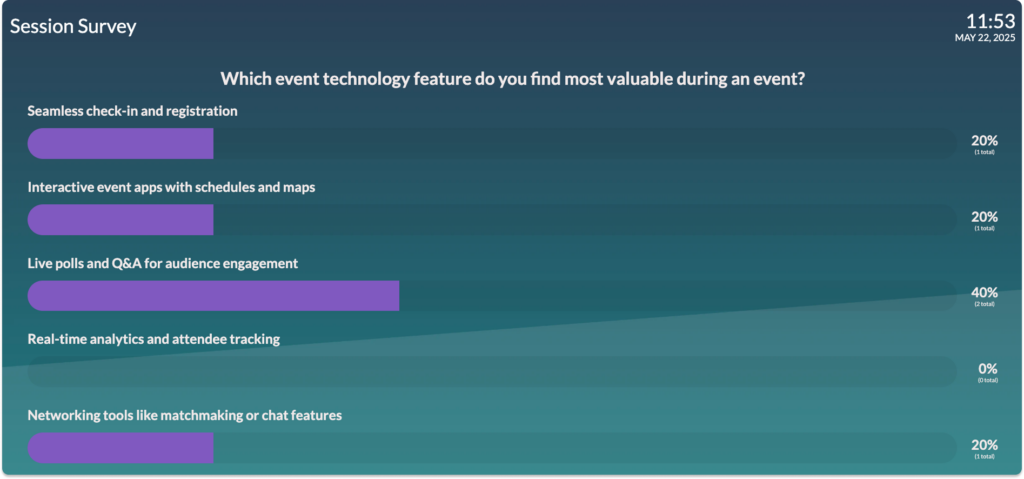
- Surveys: Display survey results with options to customise the screen title, branding colours, toggle between a bar chart or a word cloud, set the transition time and select questions to display. Results update in realtime.
- Digital Poster: This is not a chose from the menu but by creating a sponsor display screen and uploading a background image only you can create a digital poster for housekeeping rules or similar.
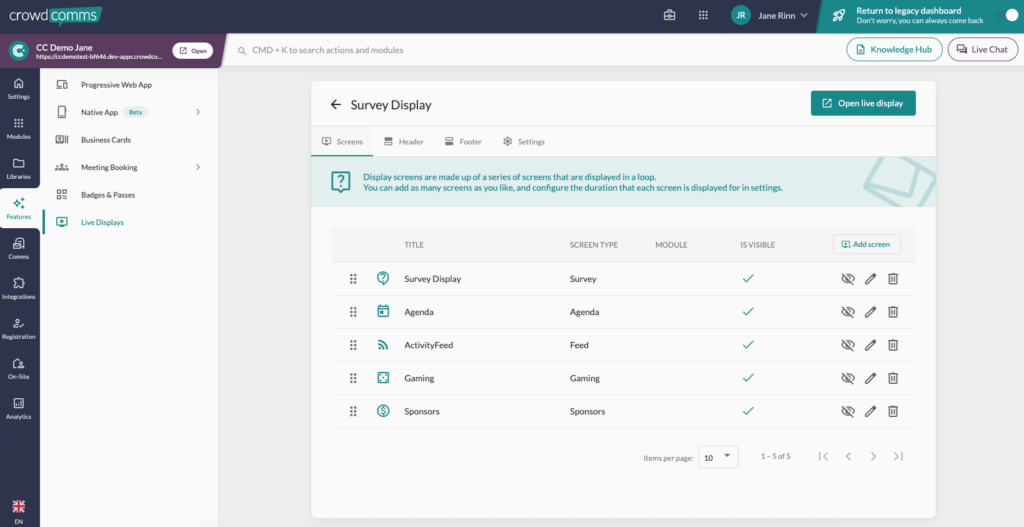
6. Choose your screen type, and then link to the existing feature, and Submit.
7. You can edit the display and branding options by selecting the pencil next to your display screen, or delete the screen by using the bin icon.
8. To view the display screen, select the Open Live Display button at the top right corner. To view your display on the day of your event your screen will need browser access. To make your display full screen press F11.
Adding a Header #
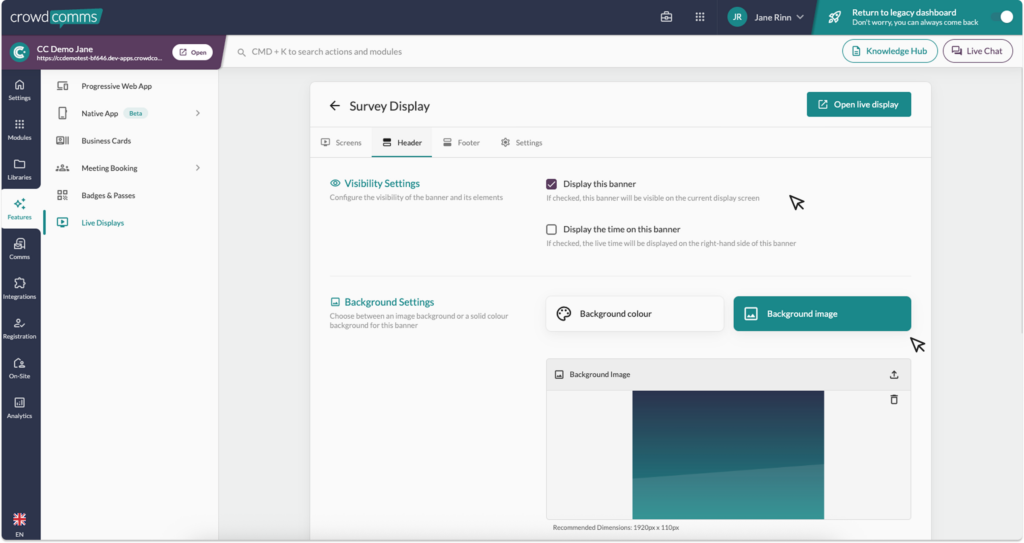
- To add a header, navigate to the header tab within the Display Screen you have just configured.
- Set the visibility to ‘On’ using the checkbox. You can also include a clock if needed.
- Next you can choose between a solid background colour or a background image.
- You can also set banner text, banner text colour and add a banner image if required.
- Once you are happy with your selection, don’t forget to save your changes.
Adding a Footer #
- Similar to the header settings, you can create a footer for your Live Display. Simply navigate to the footer tab next to the header tab to get started.
- In the footer, you can toggle it on or off, and choose to display a clock if needed. Set a background colour or image, and add or customise banner text, or upload another image.
- Don’t forget to save changes once you’re happy with your edits.
Settings #
The settings tab allows you to change the Live Display name, adjust the theme settings for the overall display, set the transition time between displays, and apply your own custom CSS for a more tailored design.


