Zebra Set-up #
- Install the Zebra Setup Utilities from zebra.com/setup
- Load the Ribbon following step 5 of the Quick Start Guide
- Adjust the yellow paper guides in the bottom of the printer
- Feed paper in and close printer
- Switch on printer
- Run the Setup Utilities, once run, the printer should appear
- Go into the windows printer settings. Enter the settings as follows
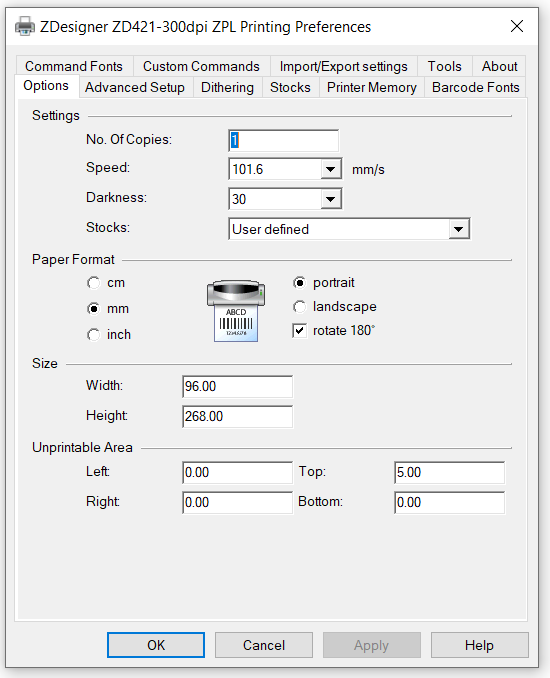
- Options:
- Darkness 30 mm
- Rotate 180
- Width 96.00
- Height 268.00
- Top 5.00
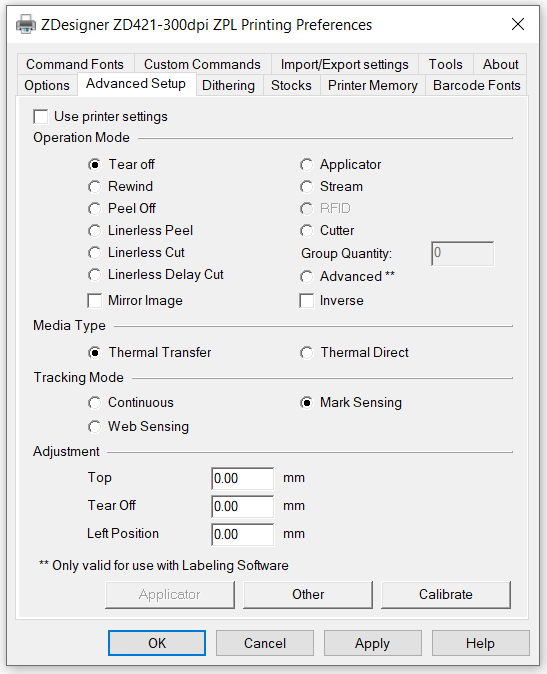
- Advanced Setup
- Mark sensing
- Options:
- Press apply and close the settings
- To calibrate the printer, hold down the Pause and X button for 2 seconds. The first time you do this it will spit loads of paper out. Do not rip the paper and repeat this process. The second calibration will stop are the correct point (providing you have correctly inputted the printer settings).
- Go back to Zebra Setup Utilities
- Go to printer tools
- Go to action > Send Command
- In the command bar enter
! U1 setvar “power.energy_star.enable” “off”
- Hit send and close Zebra Setup. This stops the printer entering sleep mode


